Segmentation, Silhouette and BackgroundIn
order to reconstruct 3D volumetric objects, we need to using the
following tools: "Bluescreen", "BluescreenUI", "Voxelcarve" and
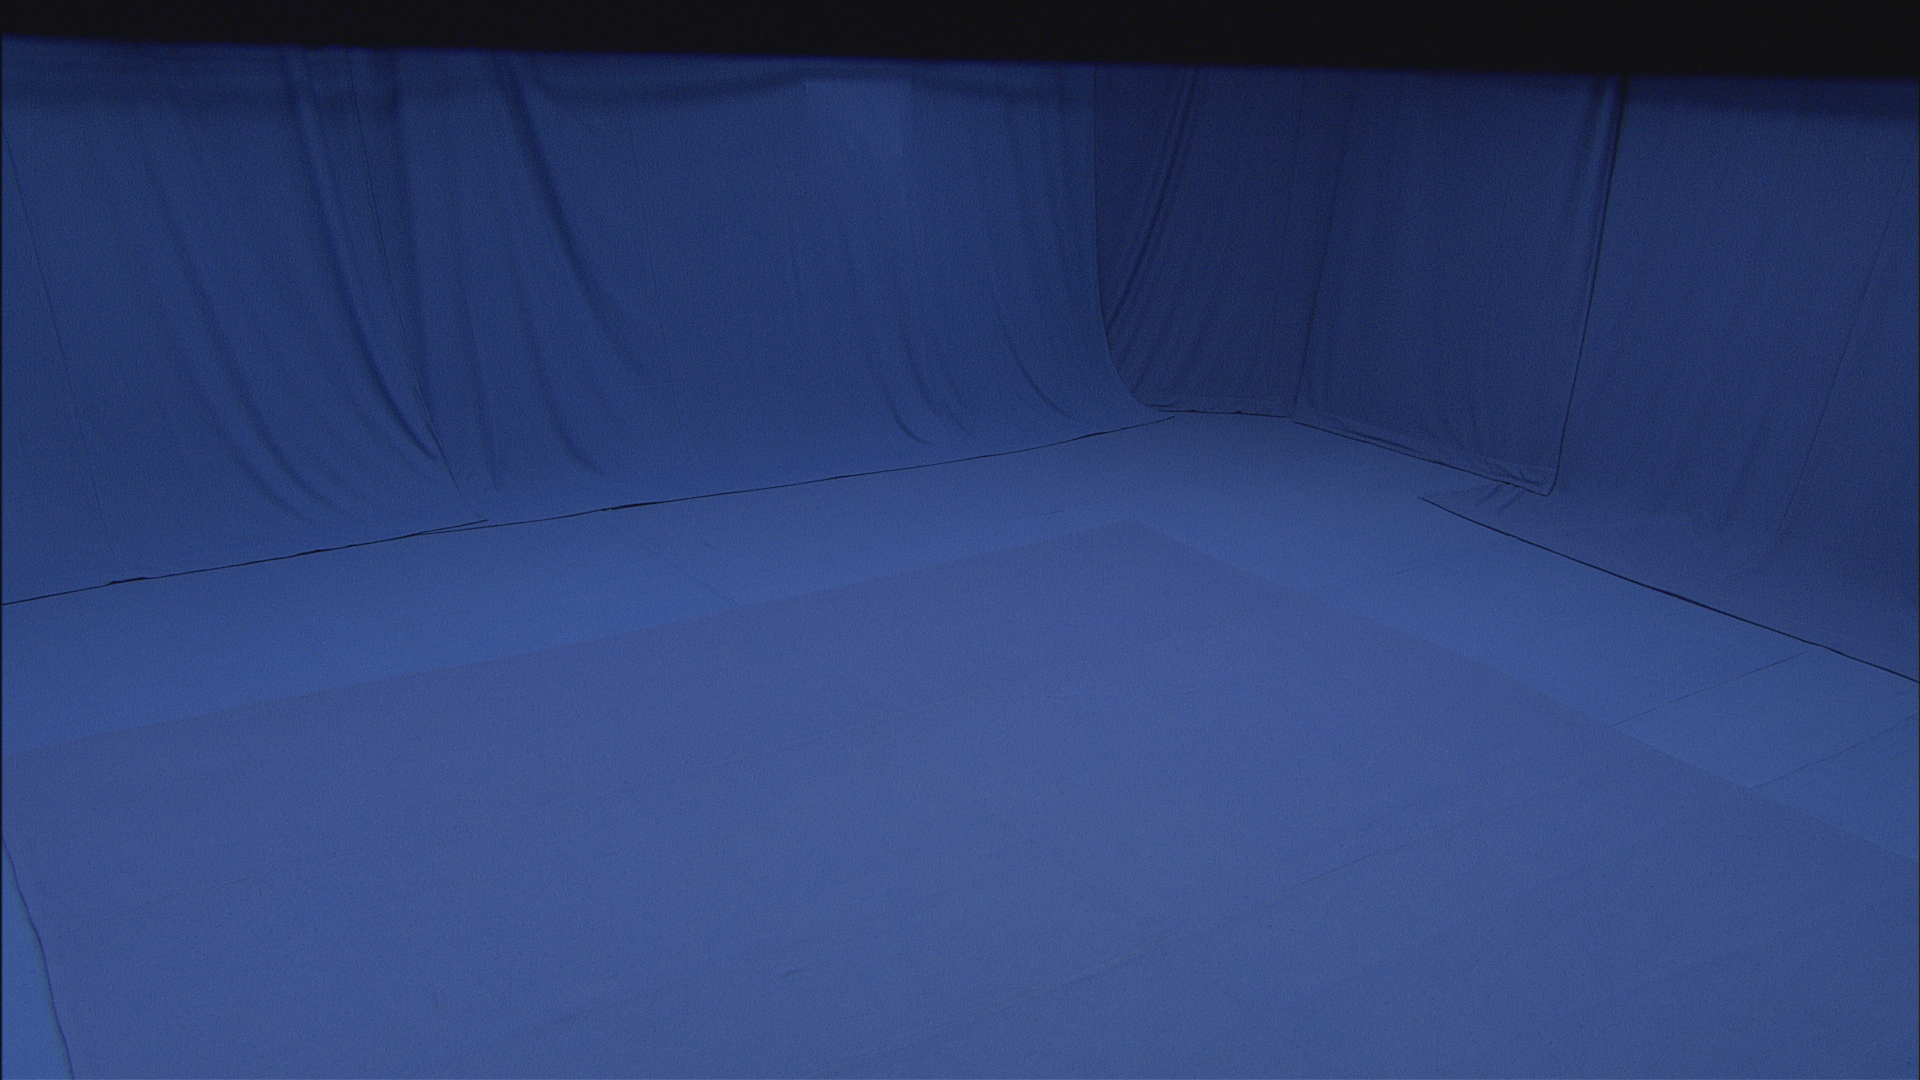
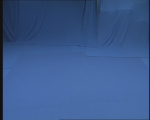
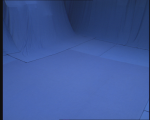
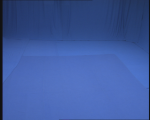
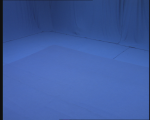
"Triview". We assume that you have captured the backgroud images without any objects using all the cameras in your own studio setup. The examples of the background images are given bellow: Assume
the directory of your data repository is
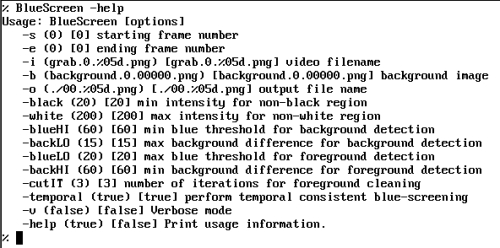
"/vol/captureX/Studio/VBPA/costume1/", to segment 100 frames of your
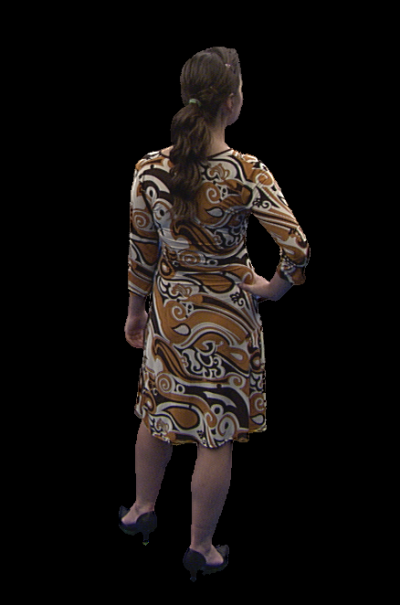
grab images of all the cameras, and to output the segmented images and
the segmented silhouette images, you can use: Bayesian ClassifierAssume
the directory of your data repository is
"/vol/captureX/Studio/VBPA/costume1/". The grab images, the segmented
images and the silhouette images are saved into this directory as well.
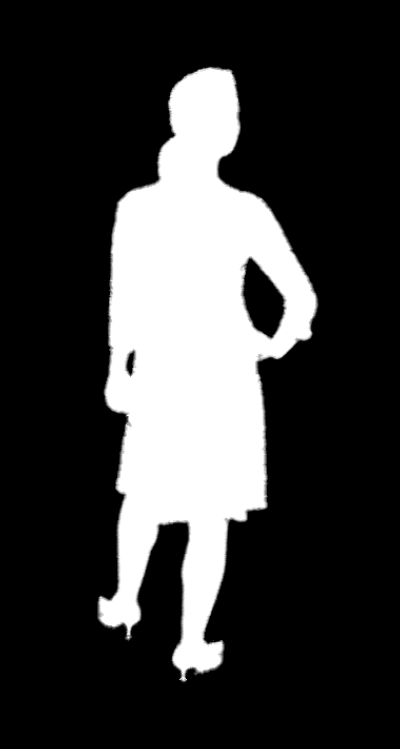
To eliminate the artefacts such as spikes, isolated floating point
swarms, and zigzag edges of silhouette images, you can use the binary
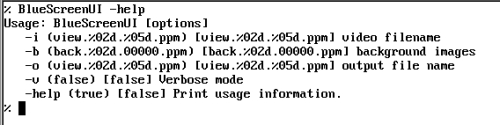
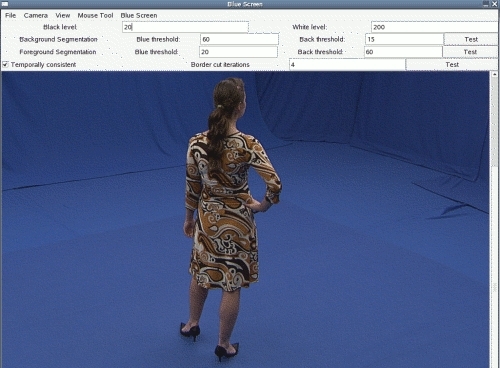
tool "BlueScreenUI" by using Bayesian Classifier implemented inside.
The mouse tool is provided in the GUI to let you smooth edges and
select appropriate forground or background areas. You can use the
commandline of "BlueScreenUI" like this: Now you should have the following files generated by the
binary tools "BlueScreen" and "BlueScreenUI". Volume and Mesh ReconstructionWe assume that you have already finished cameras calibration by defining world coordinate frames. We assume that you have already generated the following
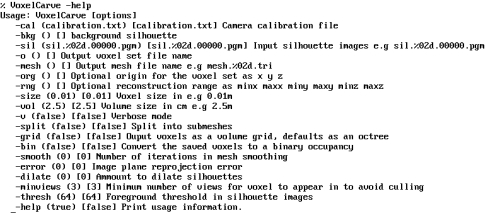
segmented files: Now we can use CSH script "voxelcarveall.csh",
"voxelcarve.csh",
or the binary tool "VoxelCarve" to build the volumetric object and its
associate mesh model. Note that the volumetric objects and the mesh
modles are constructed frame by frame, in the directory "./SFS/", for
instance, "/vol/captureX/Studio/VBPA/costume1/SFS/". The data file of volumetri objects are "voxels.#frame_number" and the data file of the mesh models are "voxels.#frame_number.tri". There files are saved into the directory "./SFS/". View ToolTo view the constructed mesh model of the volumetric objects,
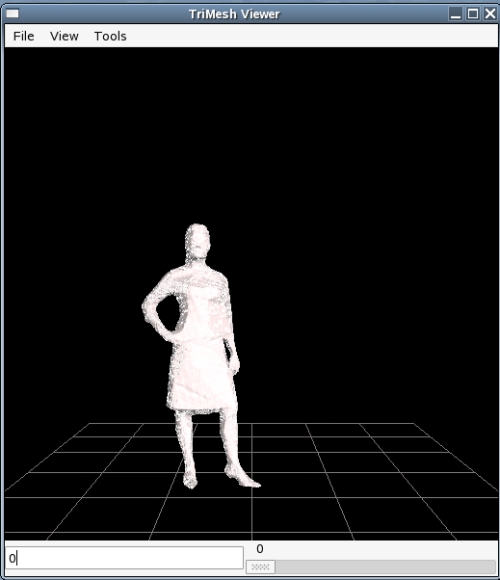
we can use the binary tool "TriViewer" |