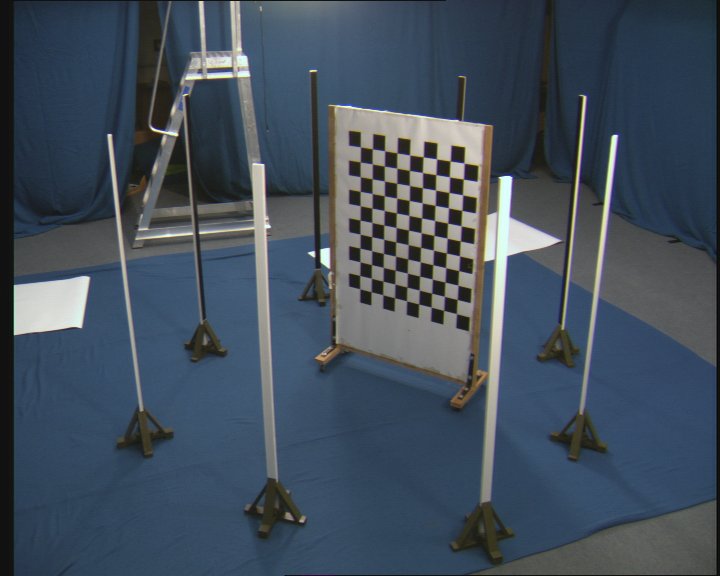
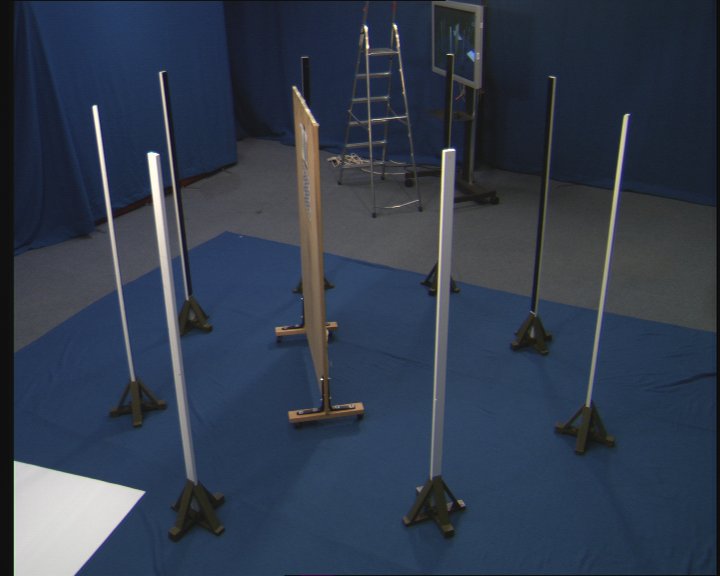
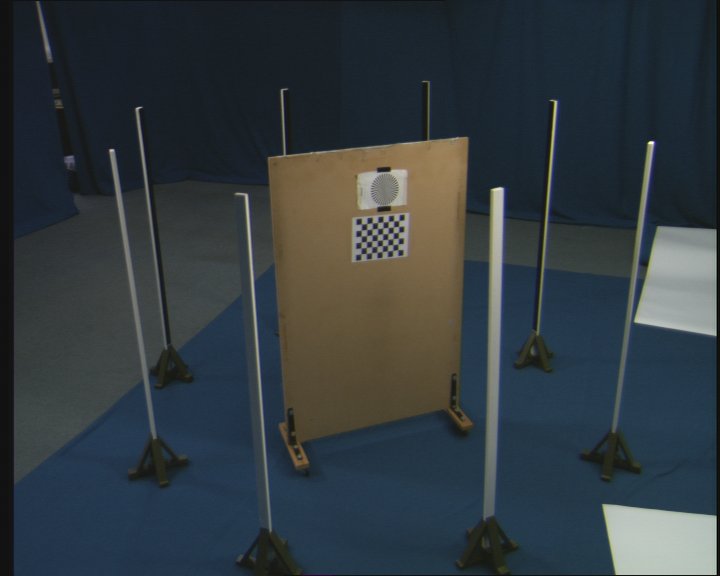
This web-page describes how to setup multiple SD and HD cameras to capture a predefined volume in the lab.
Mark out the capture volume you want in the lab so that you can setup camera orientation and zoom.
Considerations:
Mount your cameras and orientate them to view the capture volume marked out.
NOTE: once you have setup the cameras you will need to check the back-focus then set the zoom and focus. If you need to colour balance the cameras, it is best to set the white-balance now as you may need to zoom in and out of the scene.
Back-focus corresponds to the distance from the camera lense to the CCD. The back-focus needs to be set correctly so that focus holds through the zoom range. i.e if you zoom on a test chart to set the focus then zoom out and the back-focus is not setup you will lose focus.
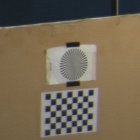
Check the back-focus by zooming onto the focus (star) chart, set the camera focus then zoom out and see if the focus is held. Here the chart is out of focus.
For more info on setting up the back-focus for a camera seehttp://www.videouniversity.com/backfoc.htm
Shutter speed - Set the speed to minimise motion blur on
the motions you will record.
Zoom - Set the zoom so that your capture volume fills the
image giving the maximum sampling resolution.
Focus - Set the focus for an object at the centre of the
volume.
NOTE: In choosing a shutter speed there will be a trade-off between the amount of light you have in the scene and the speed of motions you are recording. i.e for fast motions you will need a fast shutter speed to minimise motion blur, however this reduces the amount of light on the CCD. The aperture can be opened to increase the amount of light, however increasing the aperture reduces the depth of field i.e the range that an object is in focus. Ideally we should have sufficient light for a fast shutter speed with a small aperture.
The SD cameras have to be setup manually using the menu control on the back of the camera and by adjusting the lense. Route the camera image through to a monitor in the lab so that you can see the menu / camera image while you work.
Shutter speed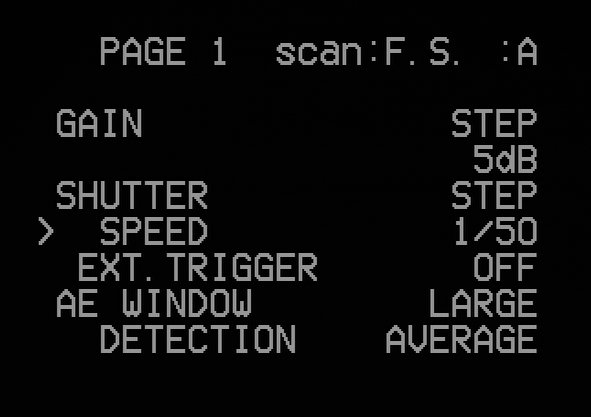
NOTE: Make sure that the menu settings are the same on all the SD cameras before you start. Two setups are possible A or B, you can define your own setup on A or B and then protect it under page 4 of the menu.
Zoom
Set zoom so that the capture volume fills the camera image.
Focus
Position the focus chart at the centre of the capture volume facing the
camera. If the back-focus is setup you can zoom in on the chart, set
the focus, then zoom out. As you zoom out, with the low-resolution SD
images you will see an aliasing artefact on the chart if the camera is
in focus.
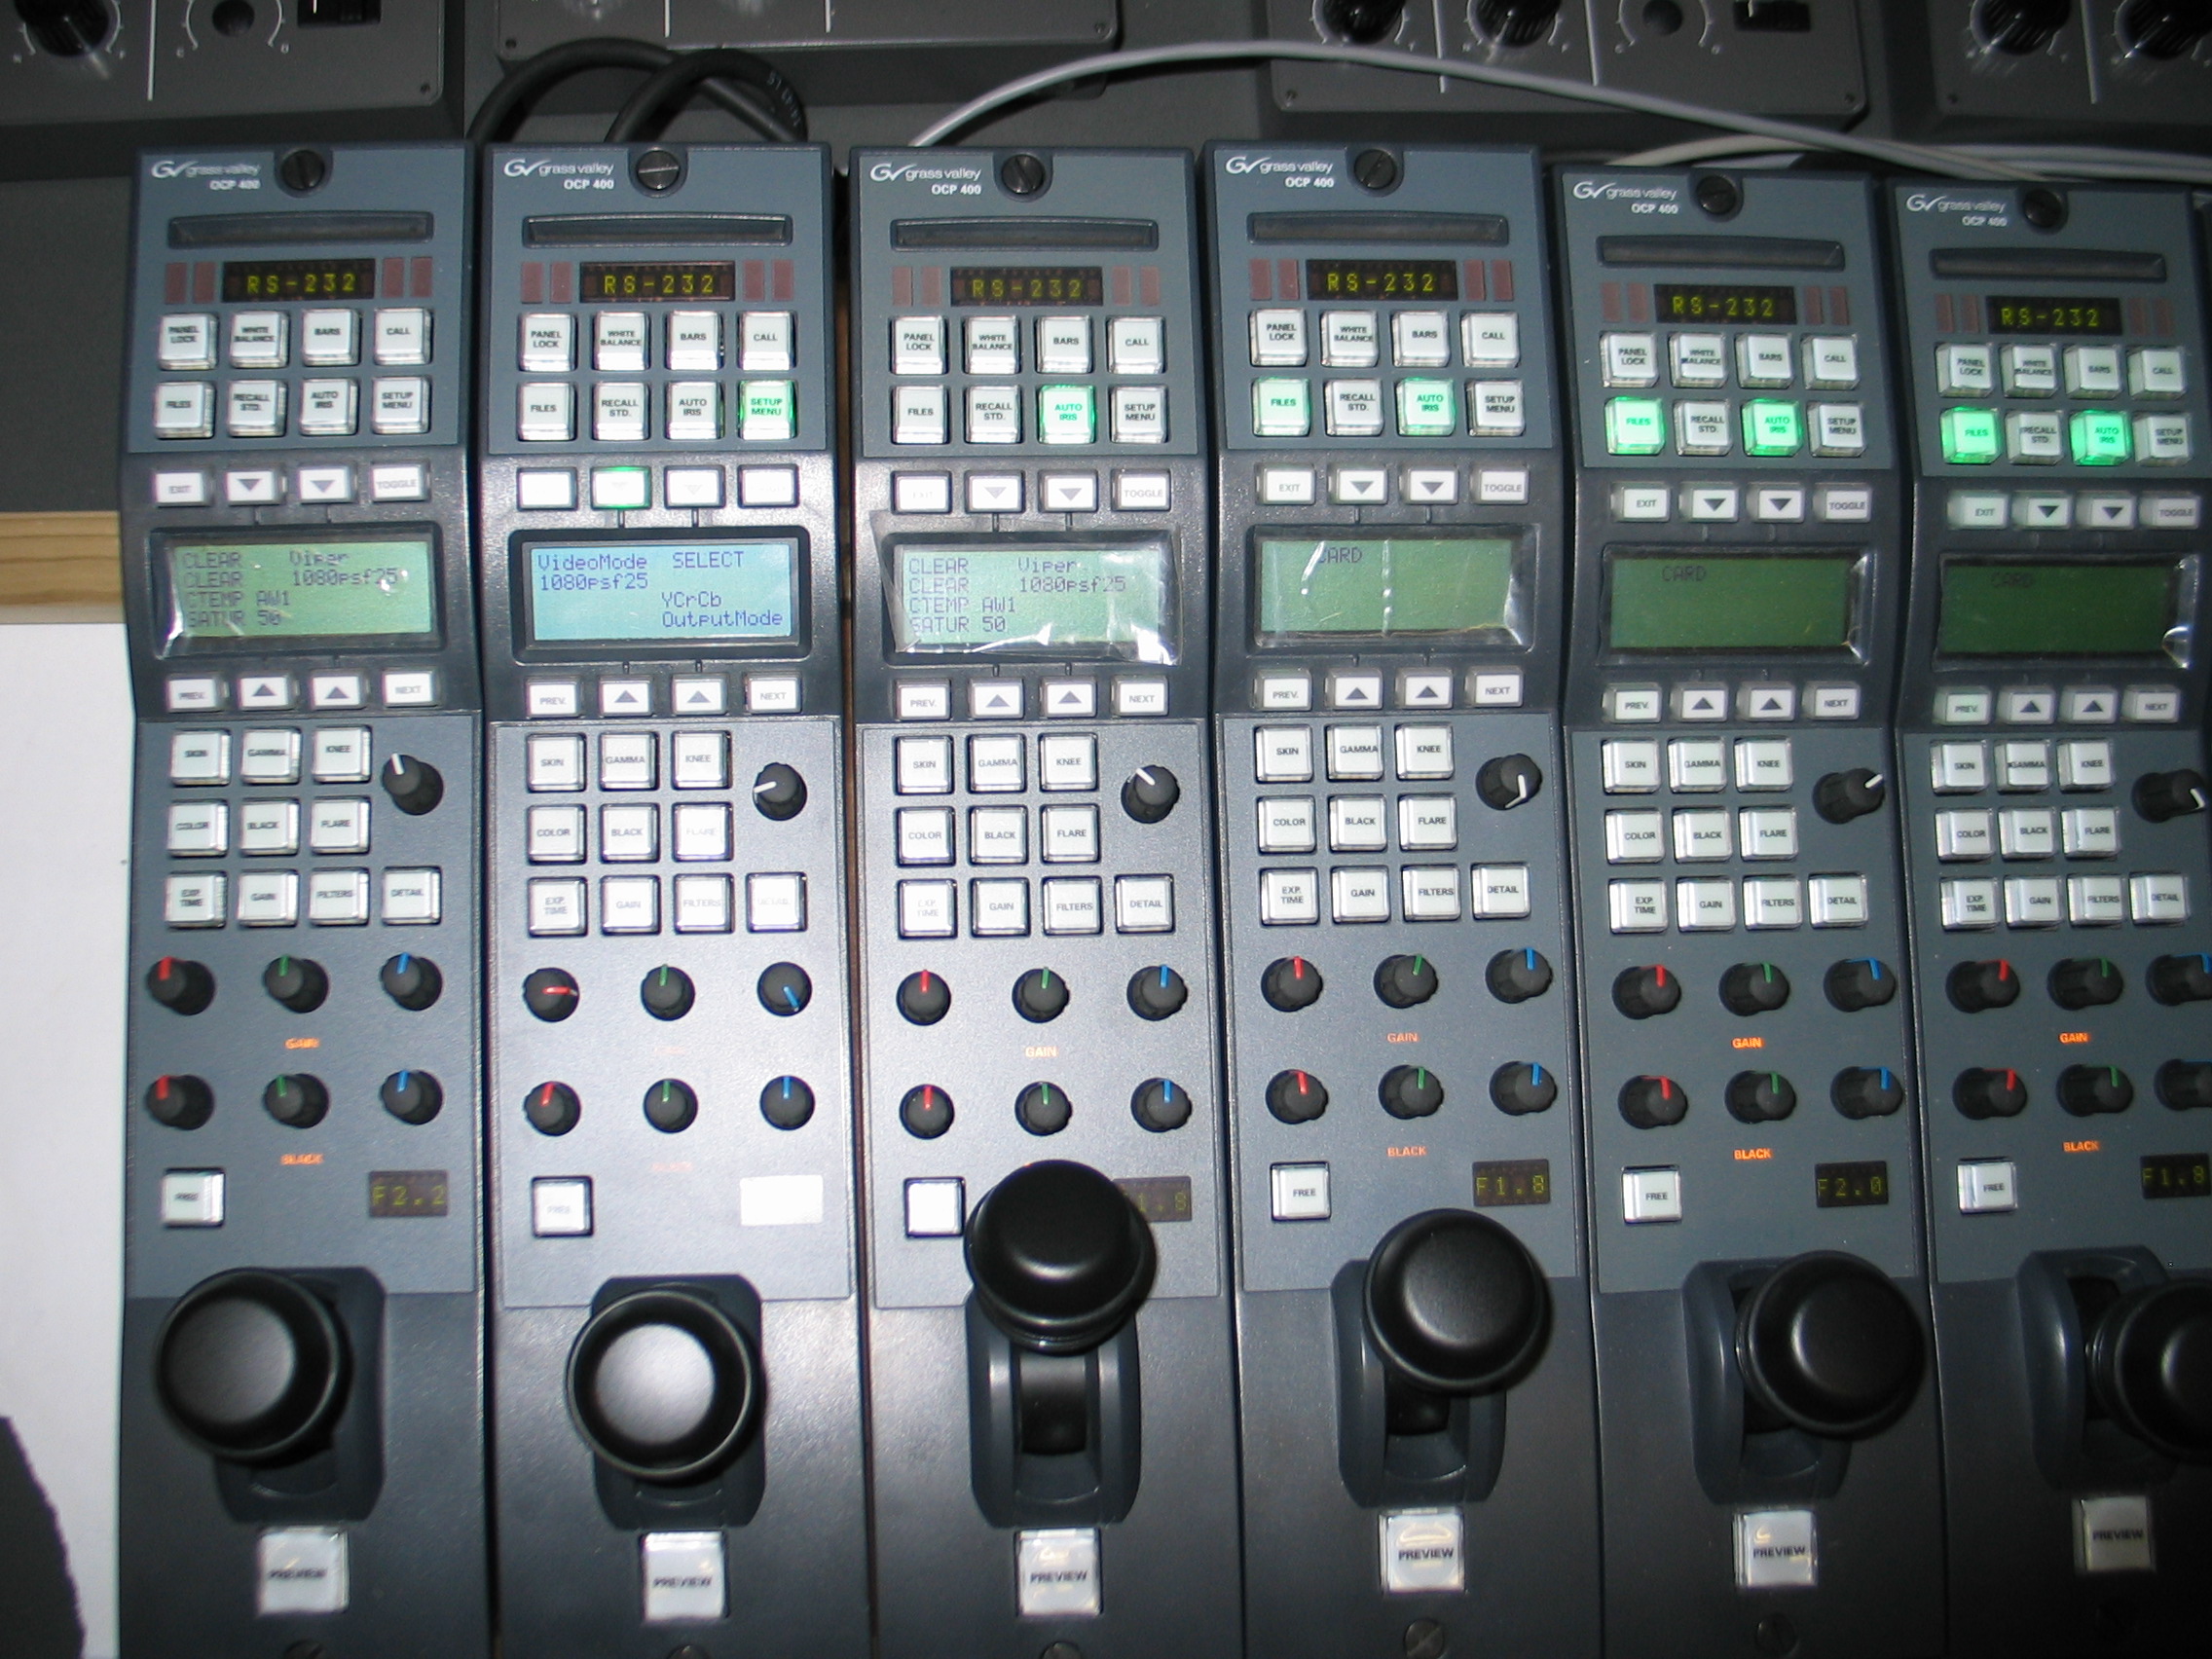
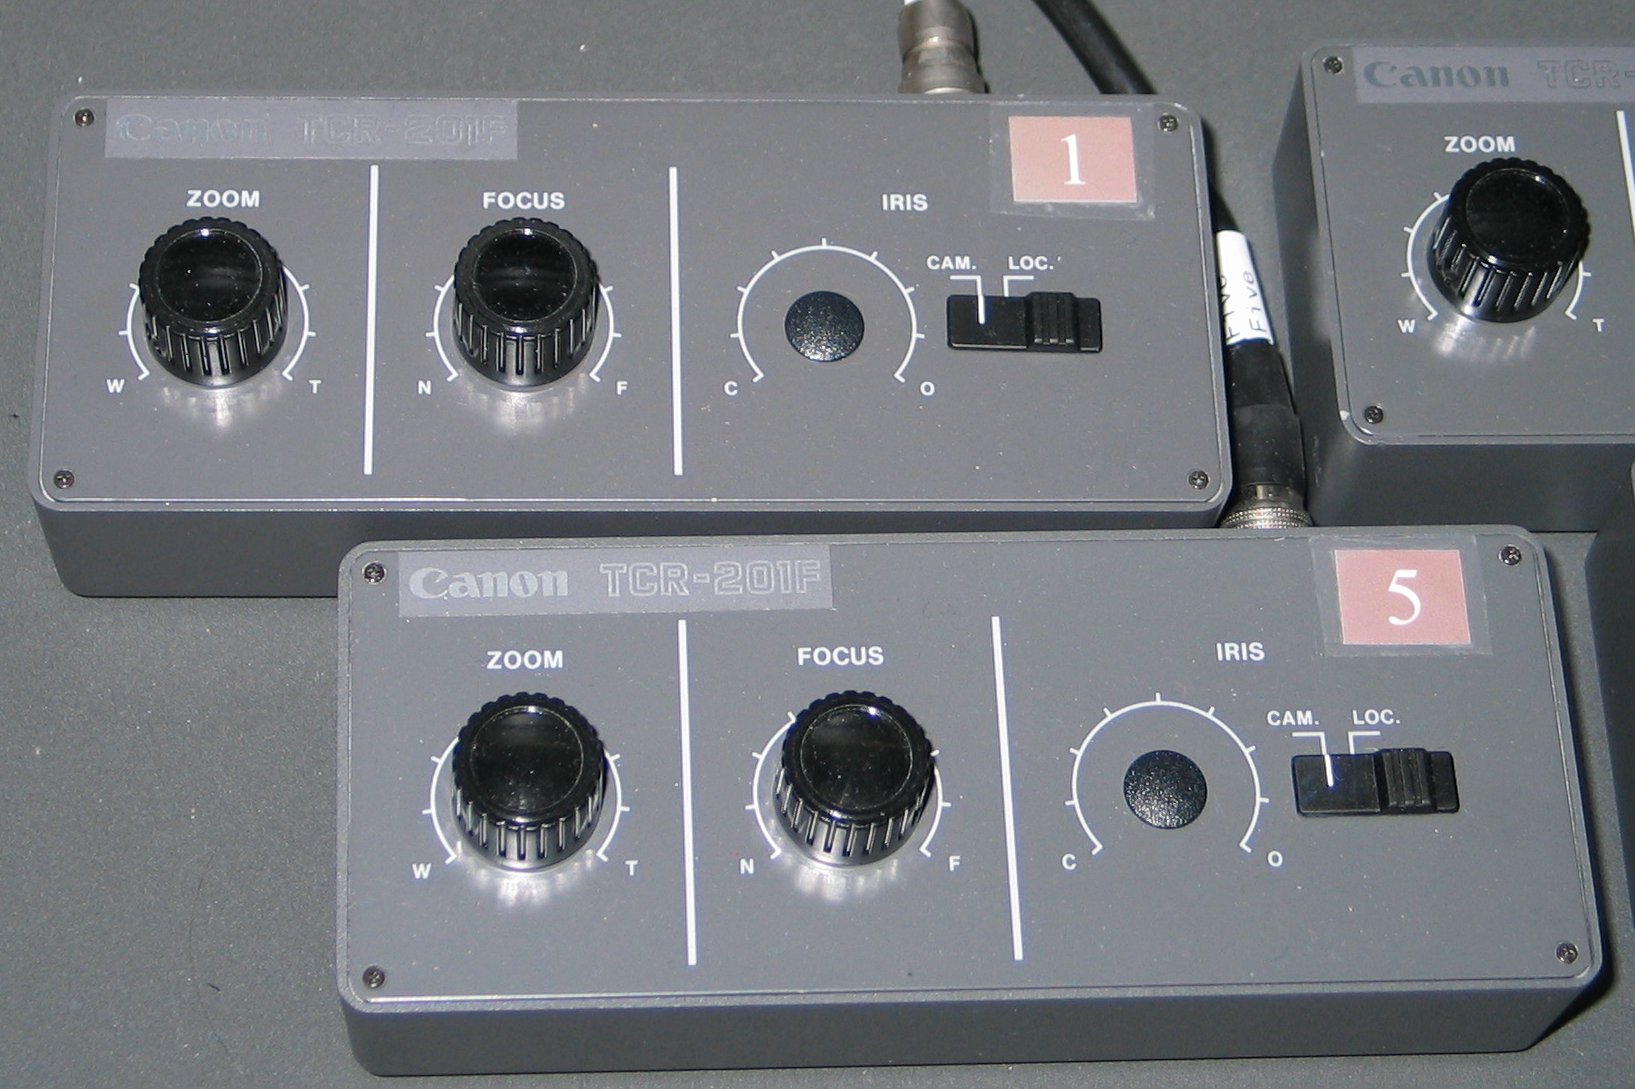
The HD cameras are controlled by the OCP boxes and the zoom + focus potentiometers on the control desk.
Reset
The default setup for the cameras is stored. To recall the setup use
the OCP for the camera and select [FILES] + [RECALL 4]. Don't overwrite
this store! The cameras automatically default to an automatic iris when
powered up, deselect [AUTO IRIS] to switch to the stored aperature size.
NOTE: For standard single link HD the camera video mode should be set to 1080psf25 and the output mode to YCrCb. You can check this by selecting [SETUP MENU] [CAM].
Shutter Speed
Set the shutter speed using [EXP TIME] + [SHUTTER] and rotating the
white knob to change the opening angle for the rotating mechanical
shutter. Note that a 90degree angle corresponds to a shutter speed of
1/100 with a 25fps frame rate, i.e the shutter is open for a quarter of
the frame period.
Zoom
Set the zoom so that the capture volume fills the image.
Focus
It is very hard to set focus exactly by eye, use the oscilloscope to do
this. Position a checkerboard chart facing the camera and strobe out a
single line on the scope across the chart. View the camera image on the
HD monitor, then select the [INPUT] on the scope and switch to the
input corresponding to the HD monitor input. Select [PICTURE] and [LINE
SEL] and turn the top-right knob to position the horizontal line across
the checkerboard in the image. NOTE: select [LINE] rather than [SAMPLE]
to strobe out the horizontal rather than vertical line in the picture.
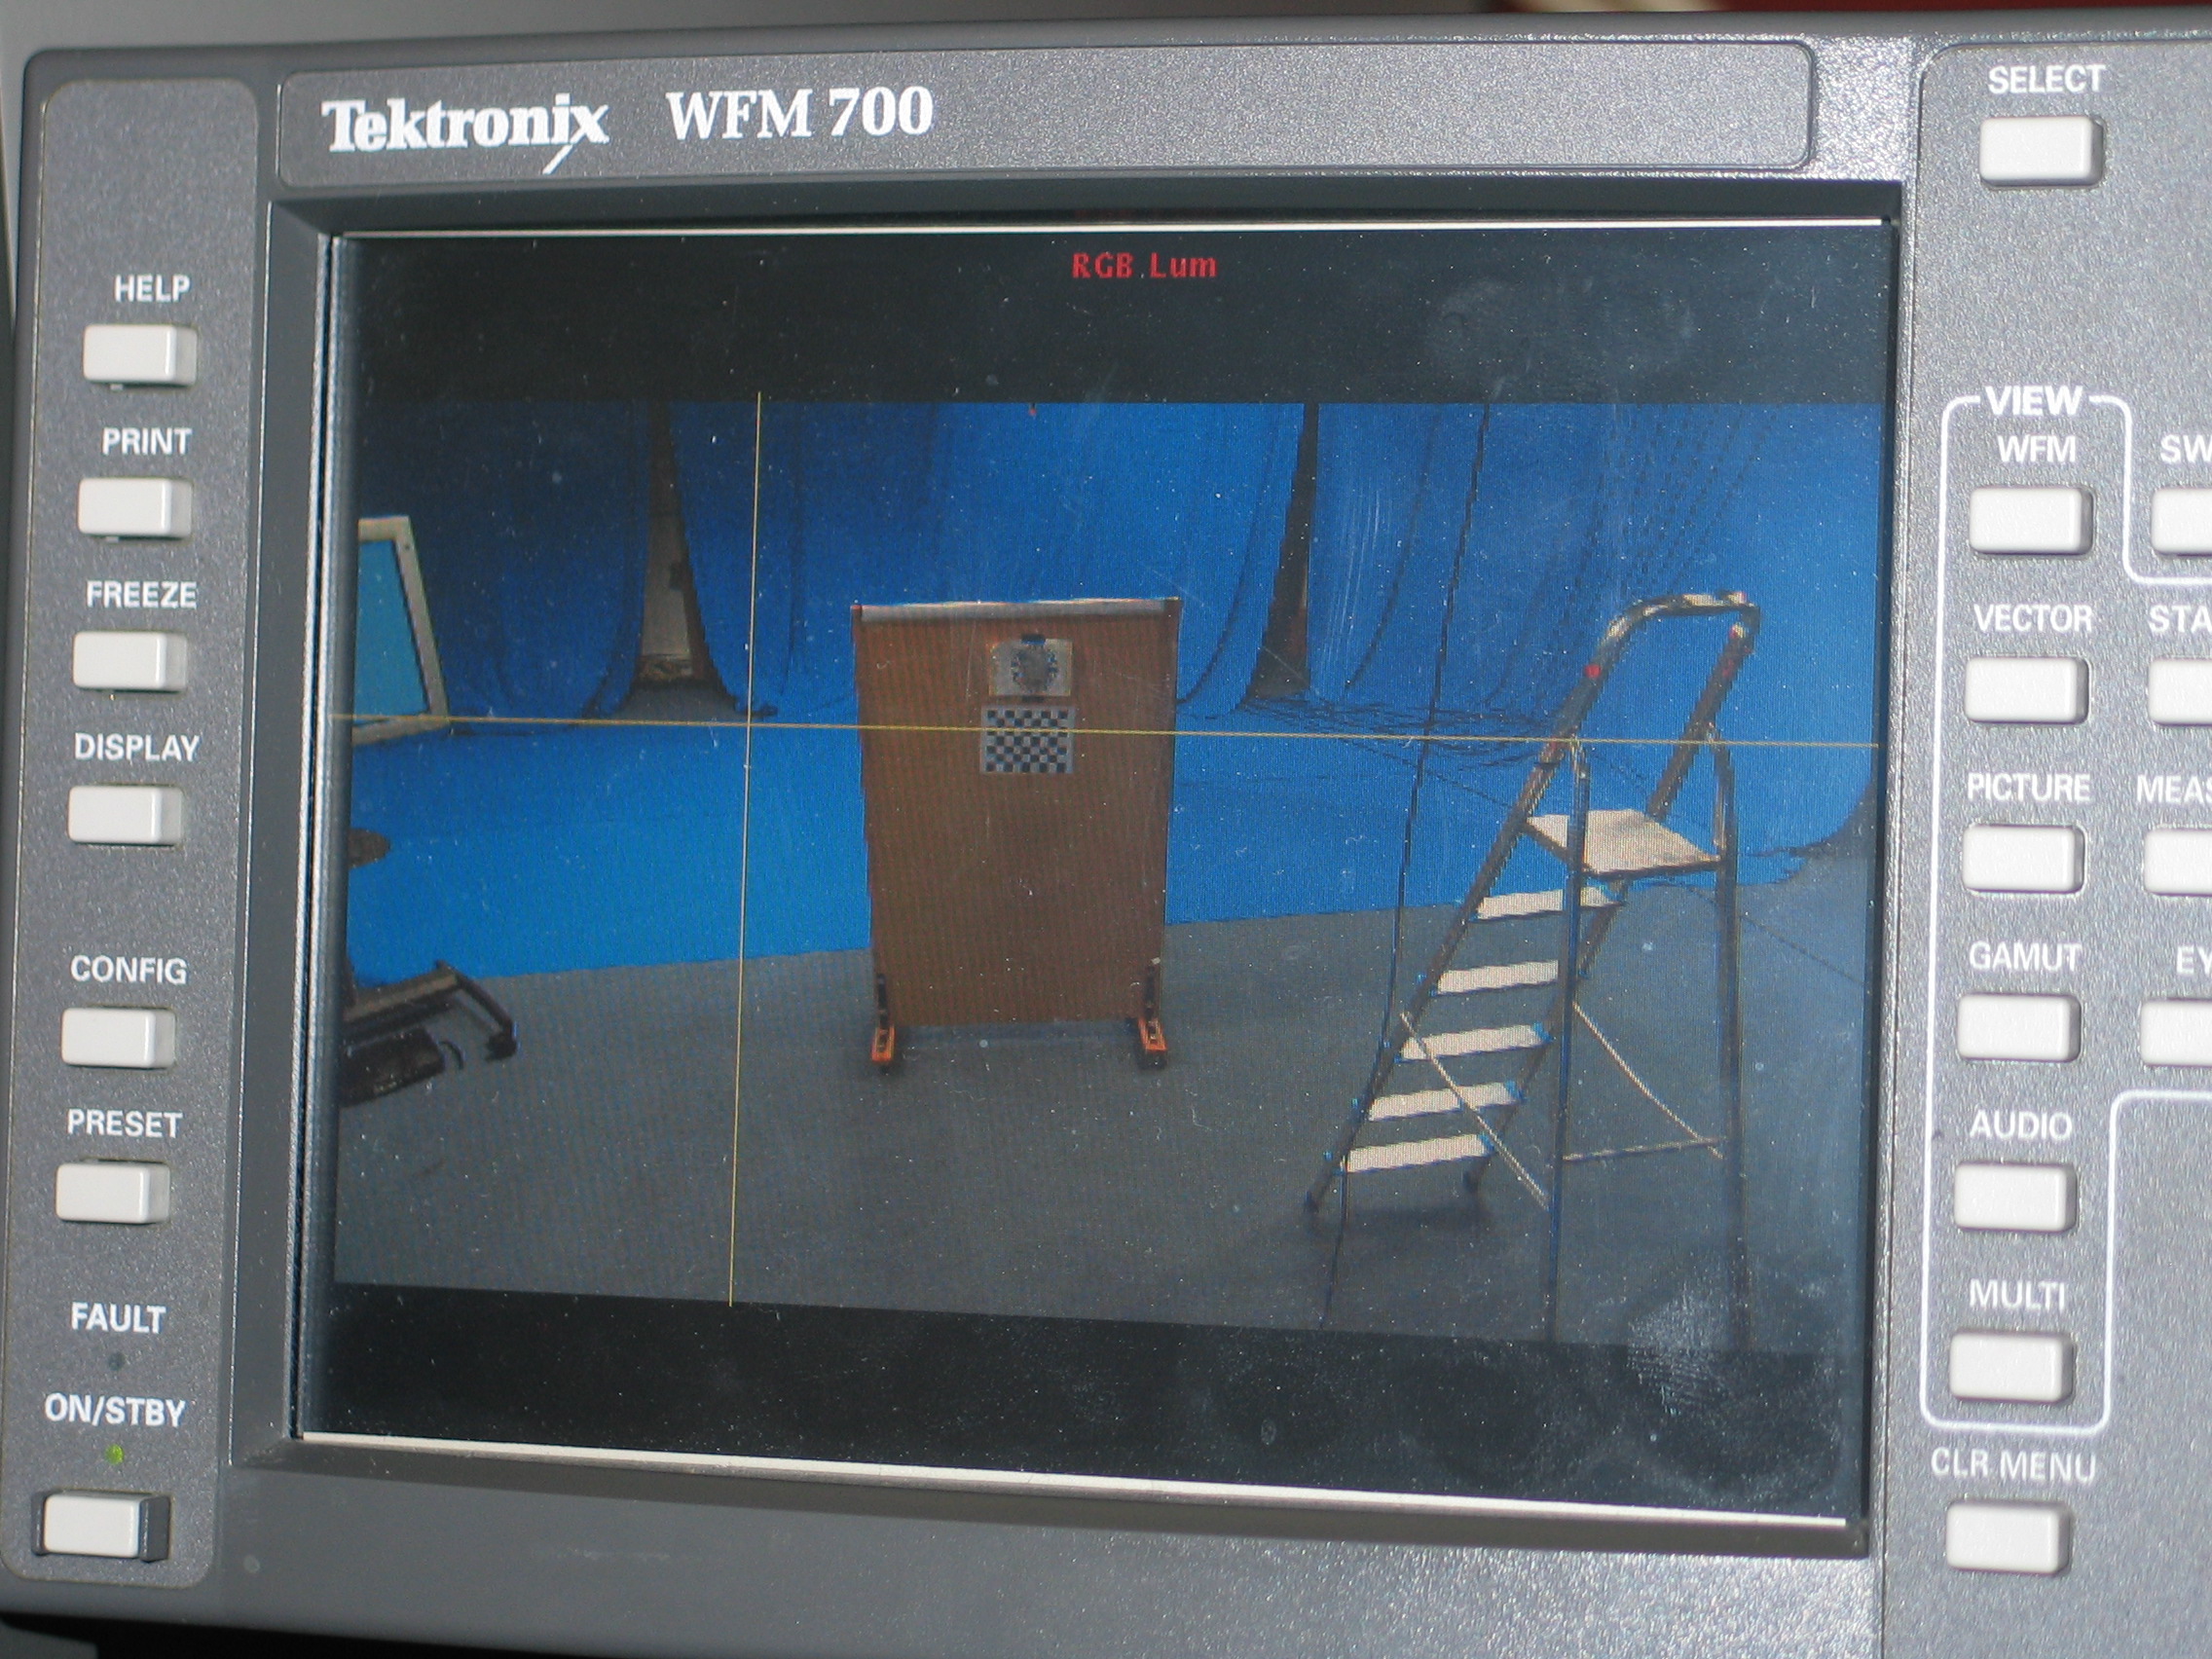
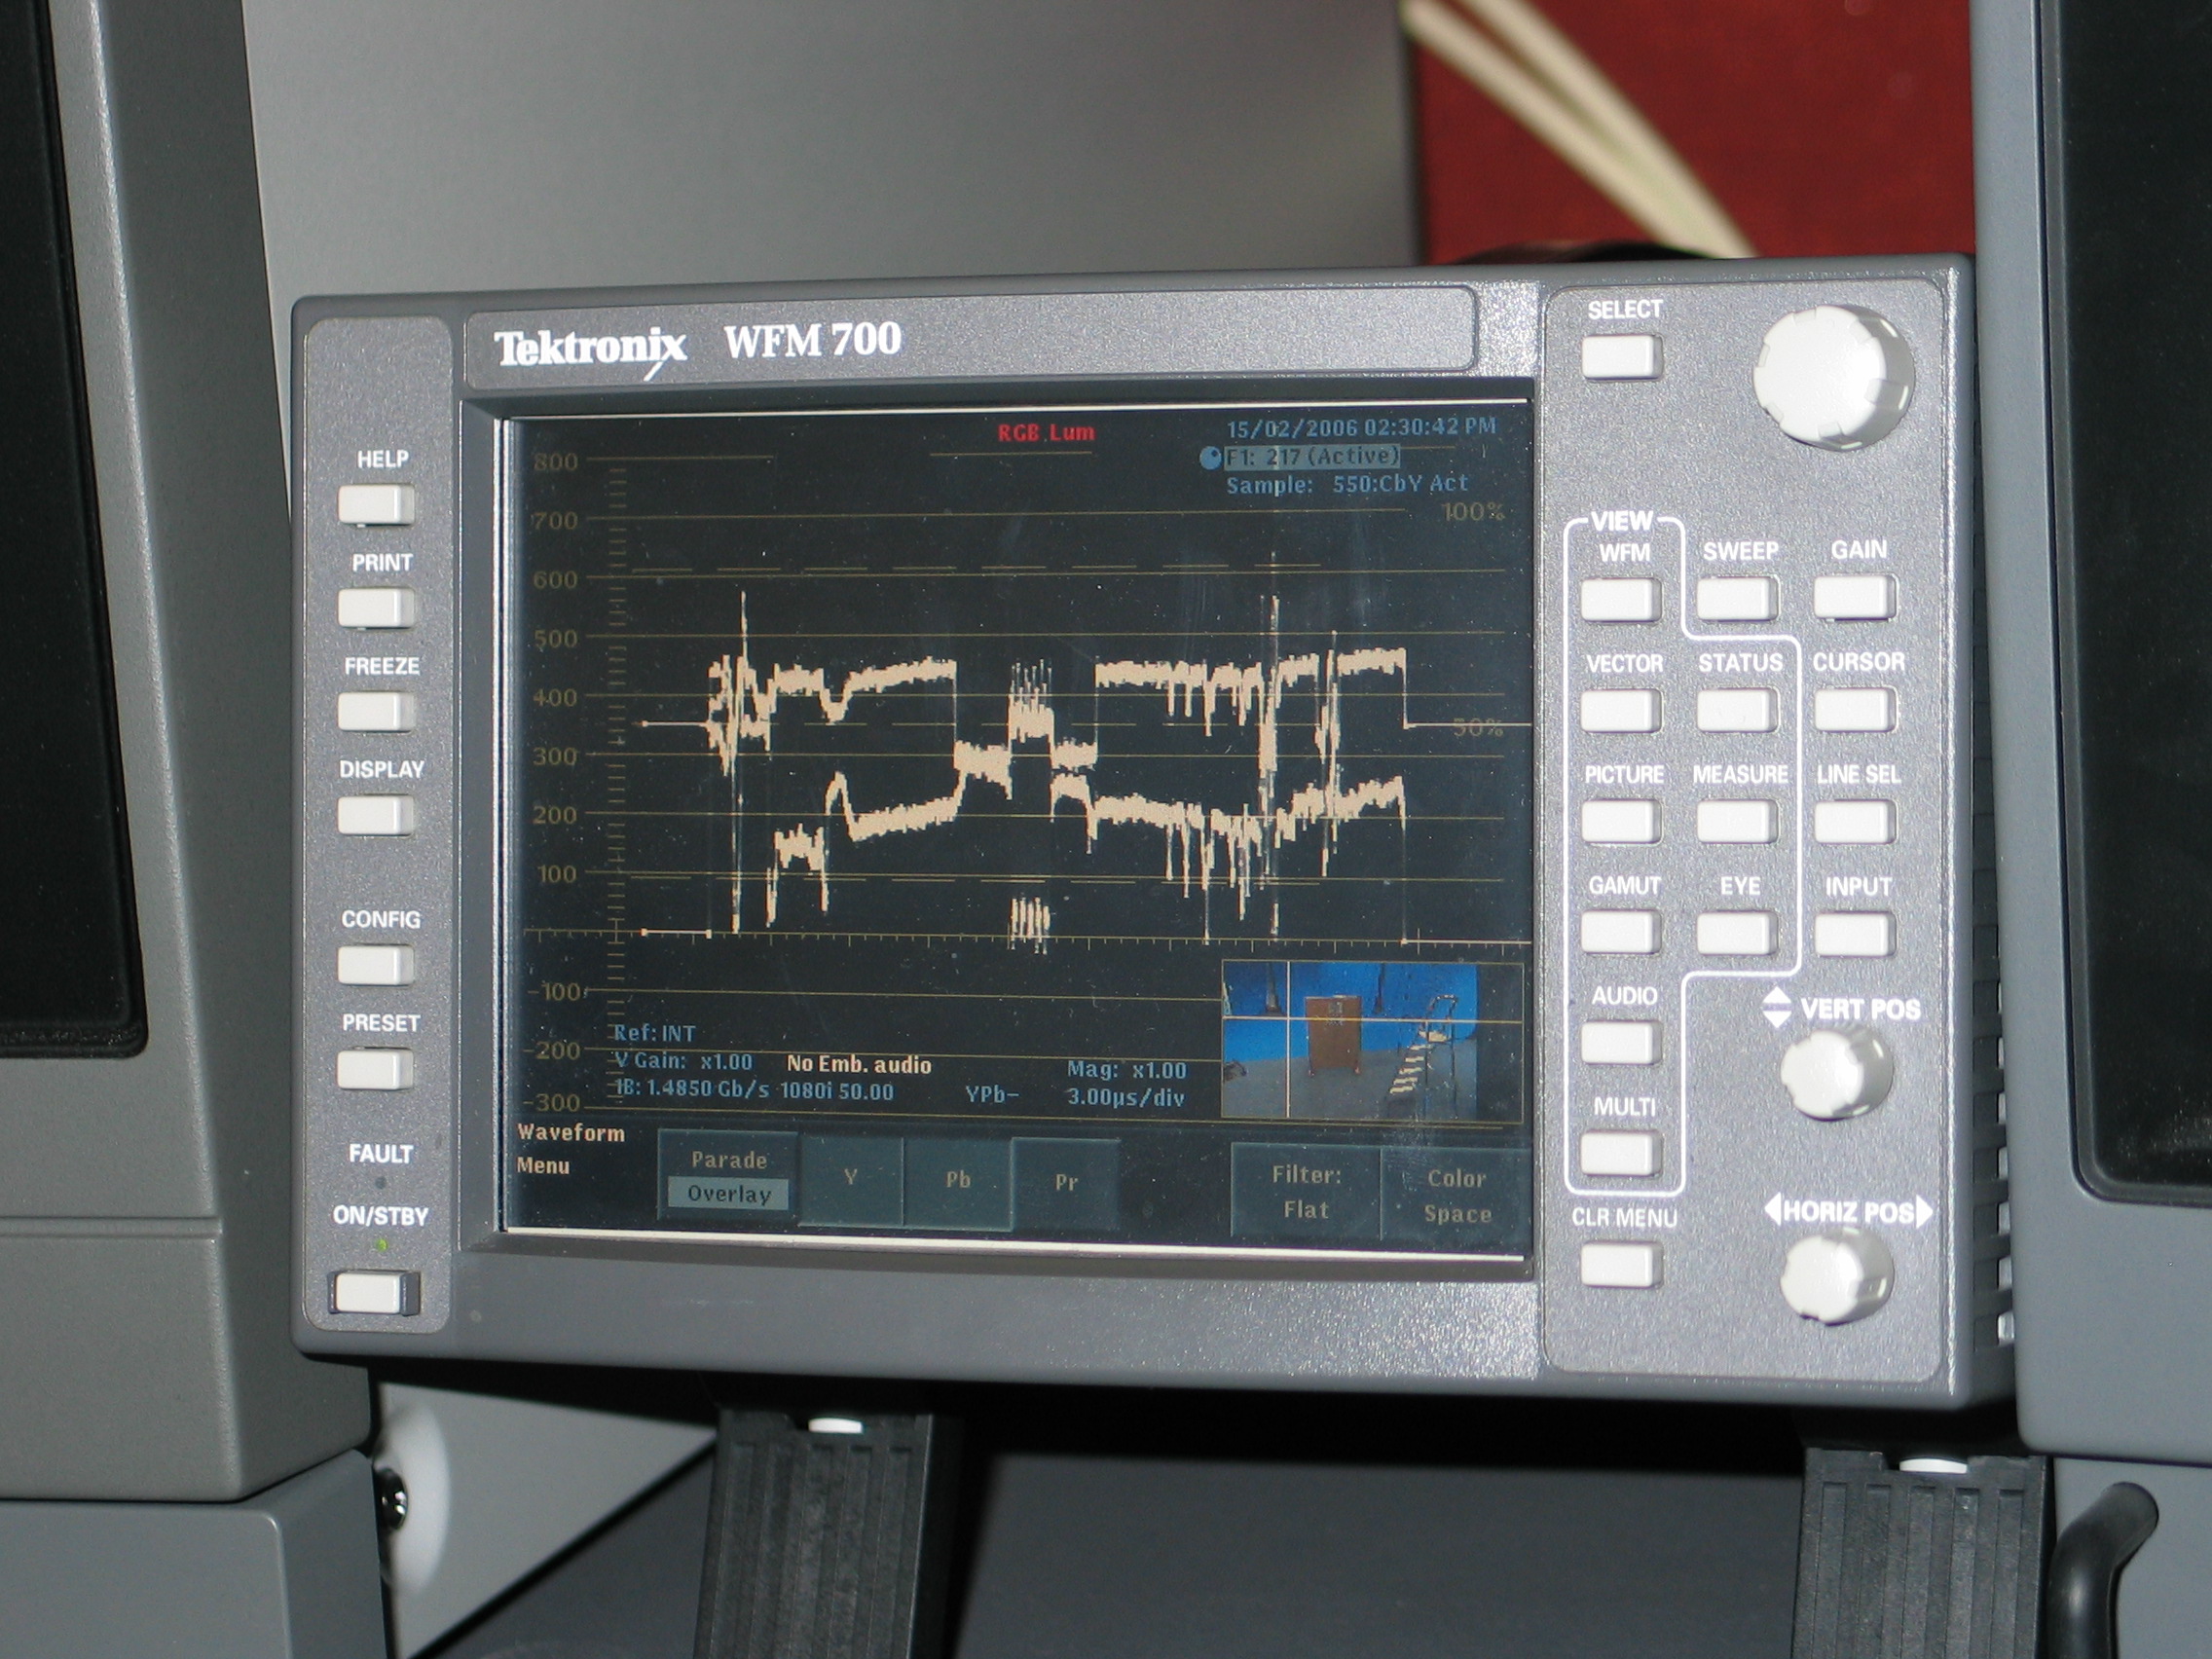
Switch to the waveform monitor [WFM] to view the signal. Switch off any filtering by selecting [FILTER] + [FLAT]. You should then see some spikes corresponding to the edges on the chart. Adjust the camera focus to maximise the spikes.
/vol/vssp/system/avsys/software/VML-Capture/MultiCamTool.py/vol/vssp/system/scripts/statsum.pl/vol/vssp/system/scripts/statgen.pl/vol/vssp/system/scripts/grabarraytest.sh